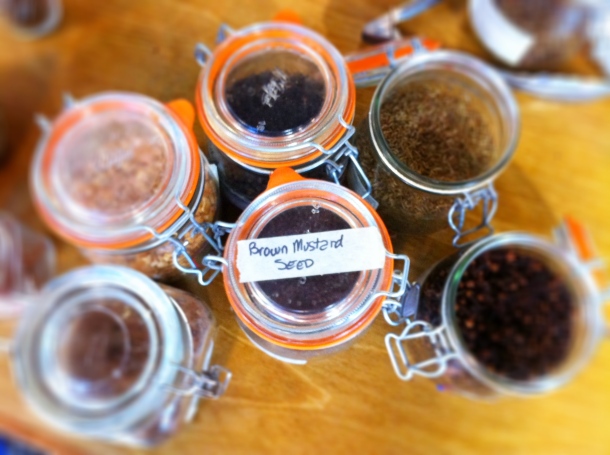
This recipe is from one of our workshops we held this past summer. The pickled melon has such concentration of flavor that it is a great addition when thinly sliced and added to salads, or even braised with fowl or stronger tasting fish.
Pickled cantelope and honeydew melon in White wine and Honey
1 small cantelope (or cask melon)
1 small honeydew melon
4 Cups white wine (we used a pinot grigio, but chardonnay, or sauvignon blanc will also do…for something more interesting, try a prosecco)
2 Cups apple cider vinegar (or champagne vinegar)
2 T coarse salt 2 cinnamon sticks
2-4 green cardamom pods
2 star anise pods per brine (or you can place the star anise pods in the jars …for this you may need more)**
1 Cup organic local honey (you an also use a raw, unrefined agave syrup)
1/2 Cup raw sugar, or coconut palm sugar
Juice of 2 lemons.
Method:
1. Sterilize all jars and lids in boiling water (sterlize jars separately from lids). Keep jars warm while preparing food and brine.
2. Remove the rind and seeds of both melons, and scrape away any of the softest almost liquid flesh in the centre of the melons. Cube the melons into 2 cm square pieces, or however you like. Set aside.
3. Place wine, cider vinegar, spices, salt, sugar and lemon juice into a pot. Bring to a boil and cook for 5 mins. Use a heavy bottom pot for cooking the brine in. ** you can add the star anise during the cooking of the brine, or place the star anise pods in the jars… this depends on how strong you want the flavor of the star anise to permeate).
4. Place cubed melon into the sterilized and still warm jars. make sure they are packed snugly into the jars, but not over full. Make sure the melon does not pass the bottom rung of the screw top.
5. You can add a bit of cinnamon stick, some all spice berries or star anise pods to the jars for both decoration and longer, slower seasoning. Pour the brine over the melon in the jars, ensuring that the the jars are not over filled. If needed, gently compress the melon and add more, to fill jars. Melons will rise/float in the brine, after the jars are processed, so it does not hurt to pack them tightly.
6. Use a non-metallic utensil to run around the inside edge of the jar, to release air. You do not want to trap air in jars, as this could become a source of potential contamination. Wipe down the sides and lips of the jars with a clean cloth, place lids and screw tops on each jar and tighten to just finger tight.
7. Hot water process the jars, or use a pressure canner to seal the jars for longer term keeping.
Hot water process: in a large stock pot, place a rack on the bottom, and then the jars, ensuring that they are not too tightly packed into the pot. Add enough water to about an inch over the jar tops. (note: add warm water, so as not to put warm jars filled with warm contents into cold water, thereby creating potential for breakage).
Once water is boiling, allow jars to to ‘process’ for 10 minutes. Turn off heat, remove carefully from pot with jar lifter, and set jars to cool.
Enjoy!
